Documentation
Integrations
Connect third-party services like Stripe to your workspace so Customers can settle Invoices.
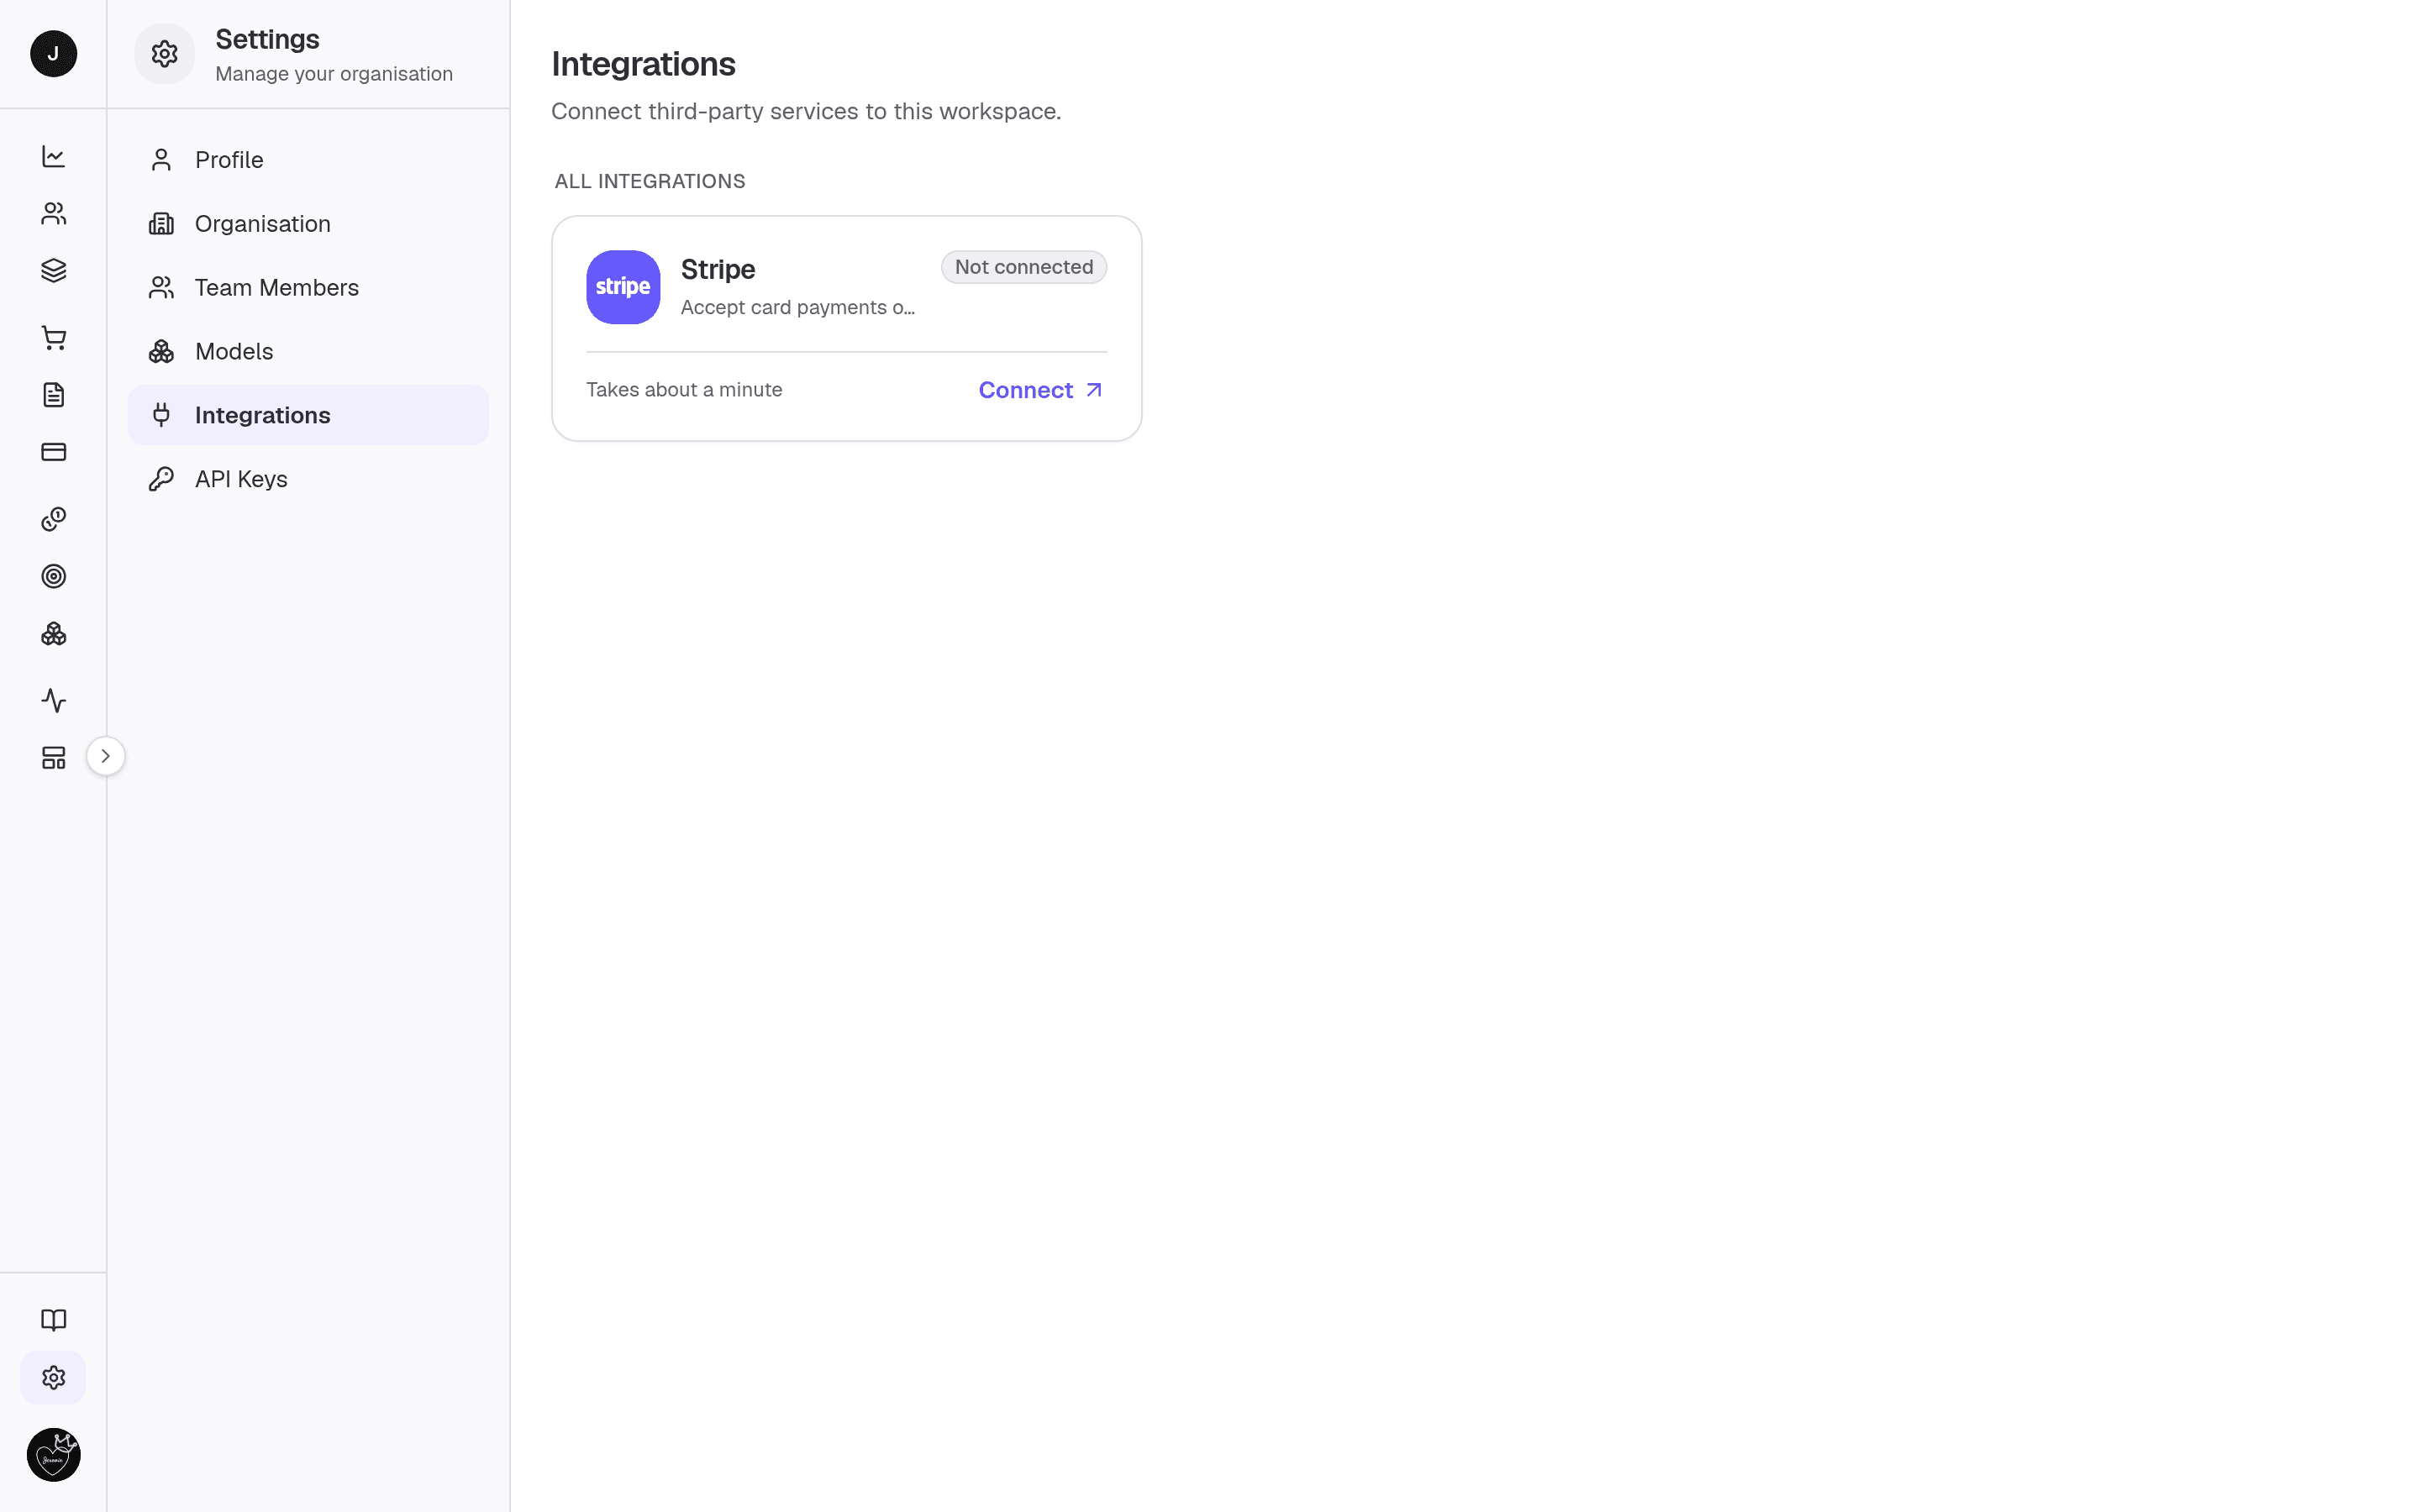
Integrations connects third-party services to your workspace. The main page is a
grid of available providers with their connection status; each provider has its
own detail page with a guided, three-step setup and a credentials panel. Today
the catalog centres on Stripe for accepting card payments on Invoices.
Credentials you enter are stored encrypted per Organisation.
What you can do here
- Browse available integrations and see which are connected.
- Open a provider to connect it by pasting its credentials.
- Update the stored keys for a connected provider.
- Copy the webhook endpoint a provider needs to post events back to.
- Disconnect a provider.
Owner or admin only
Connecting, updating keys, and disconnecting are available to owners and admins. Members can view a provider's page but not change it.
On this page
Integrations grid
Providers are split into two groups — Connected and Available (or All integrations when nothing is connected yet). Each card shows the brand logo, a short tagline, and a status badge (Connected with the date, or Not connected). The card footer links to the provider's setup page — Manage when connected, Connect otherwise.
Provider detail (/settings/integrations/[provider])
A branded hero with the provider name, status, and description sits above a two-column layout:
- Setup guide (left) — numbered steps: get your API keys (with a link to the provider's dashboard), paste the keys, and — for providers that receive events — add the webhook endpoint. The endpoint URL has a copy button.
- Credentials (right) — one field per secret the provider needs. Each field has a show/hide toggle. Once connected, saved keys are hidden; re-enter all values to update them.
Connecting a provider
-
From the grid, open the provider (e.g. Stripe).
-
Follow step 1 to fetch your keys from the provider's dashboard.
-
Paste each credential into the Credentials panel. For Stripe these are:
Field Notes Secret key Starts with sk_. Stripe Dashboard → Developers → API keys.Webhook signing secret Starts with whsec_. Shown when you add the webhook endpoint.Publishable key Starts with pk_. Optional — needed for embedded portal checkout. -
If the provider receives events, add the shown webhook endpoint in the provider and subscribe to the required event (for Stripe,
checkout.session.completed), then paste the signing secret it gives you. -
Press Connect. The fields are validated (a friendly prefix check first, then re-validated on the server) and stored encrypted.
To change keys later, re-enter every value and press Update keys. Disconnect removes the stored keys after a confirmation — payments through that provider stop working until you reconnect.
Related
- API Keys — programmatic access to the workspace.
- Organisation settings — the workspace these integrations belong to.