Documentation
Getting started
From a fresh workspace to your first tracked Signal — the one path through Clocknext, in order.
Clocknext exists to track Signals — one usage Signal per tracked request, priced the instant it lands and rolled into revenue. This page is the single path that gets you there: from a brand-new workspace to your first Signal showing up in the app, priced and reconciled.
What you'll have at the end
Your first Signal recorded against a real Customer — with its cost, revenue, and margin computed automatically and visible on the Dashboard. Budget ~10 minutes.
Why the order matters
A Signal never stands alone. It's always a Customer, on an active Plan, consuming something you priced. So Clocknext can only track a Signal once the pieces beneath it exist — and you build them bottom-up:
The shape of it
Create your workspace → confirm your Models → add a Customer → decide what they can consume (Credits · Outcomes · Units) → package it as a Plan → sell it to the Customer (a Purchase, which takes payment) → mint an API key → send your first Signal → watch it land on the Dashboard.
Each step below is a link to its full page — this walkthrough is the map, those pages are the detail.
1. Create your workspace
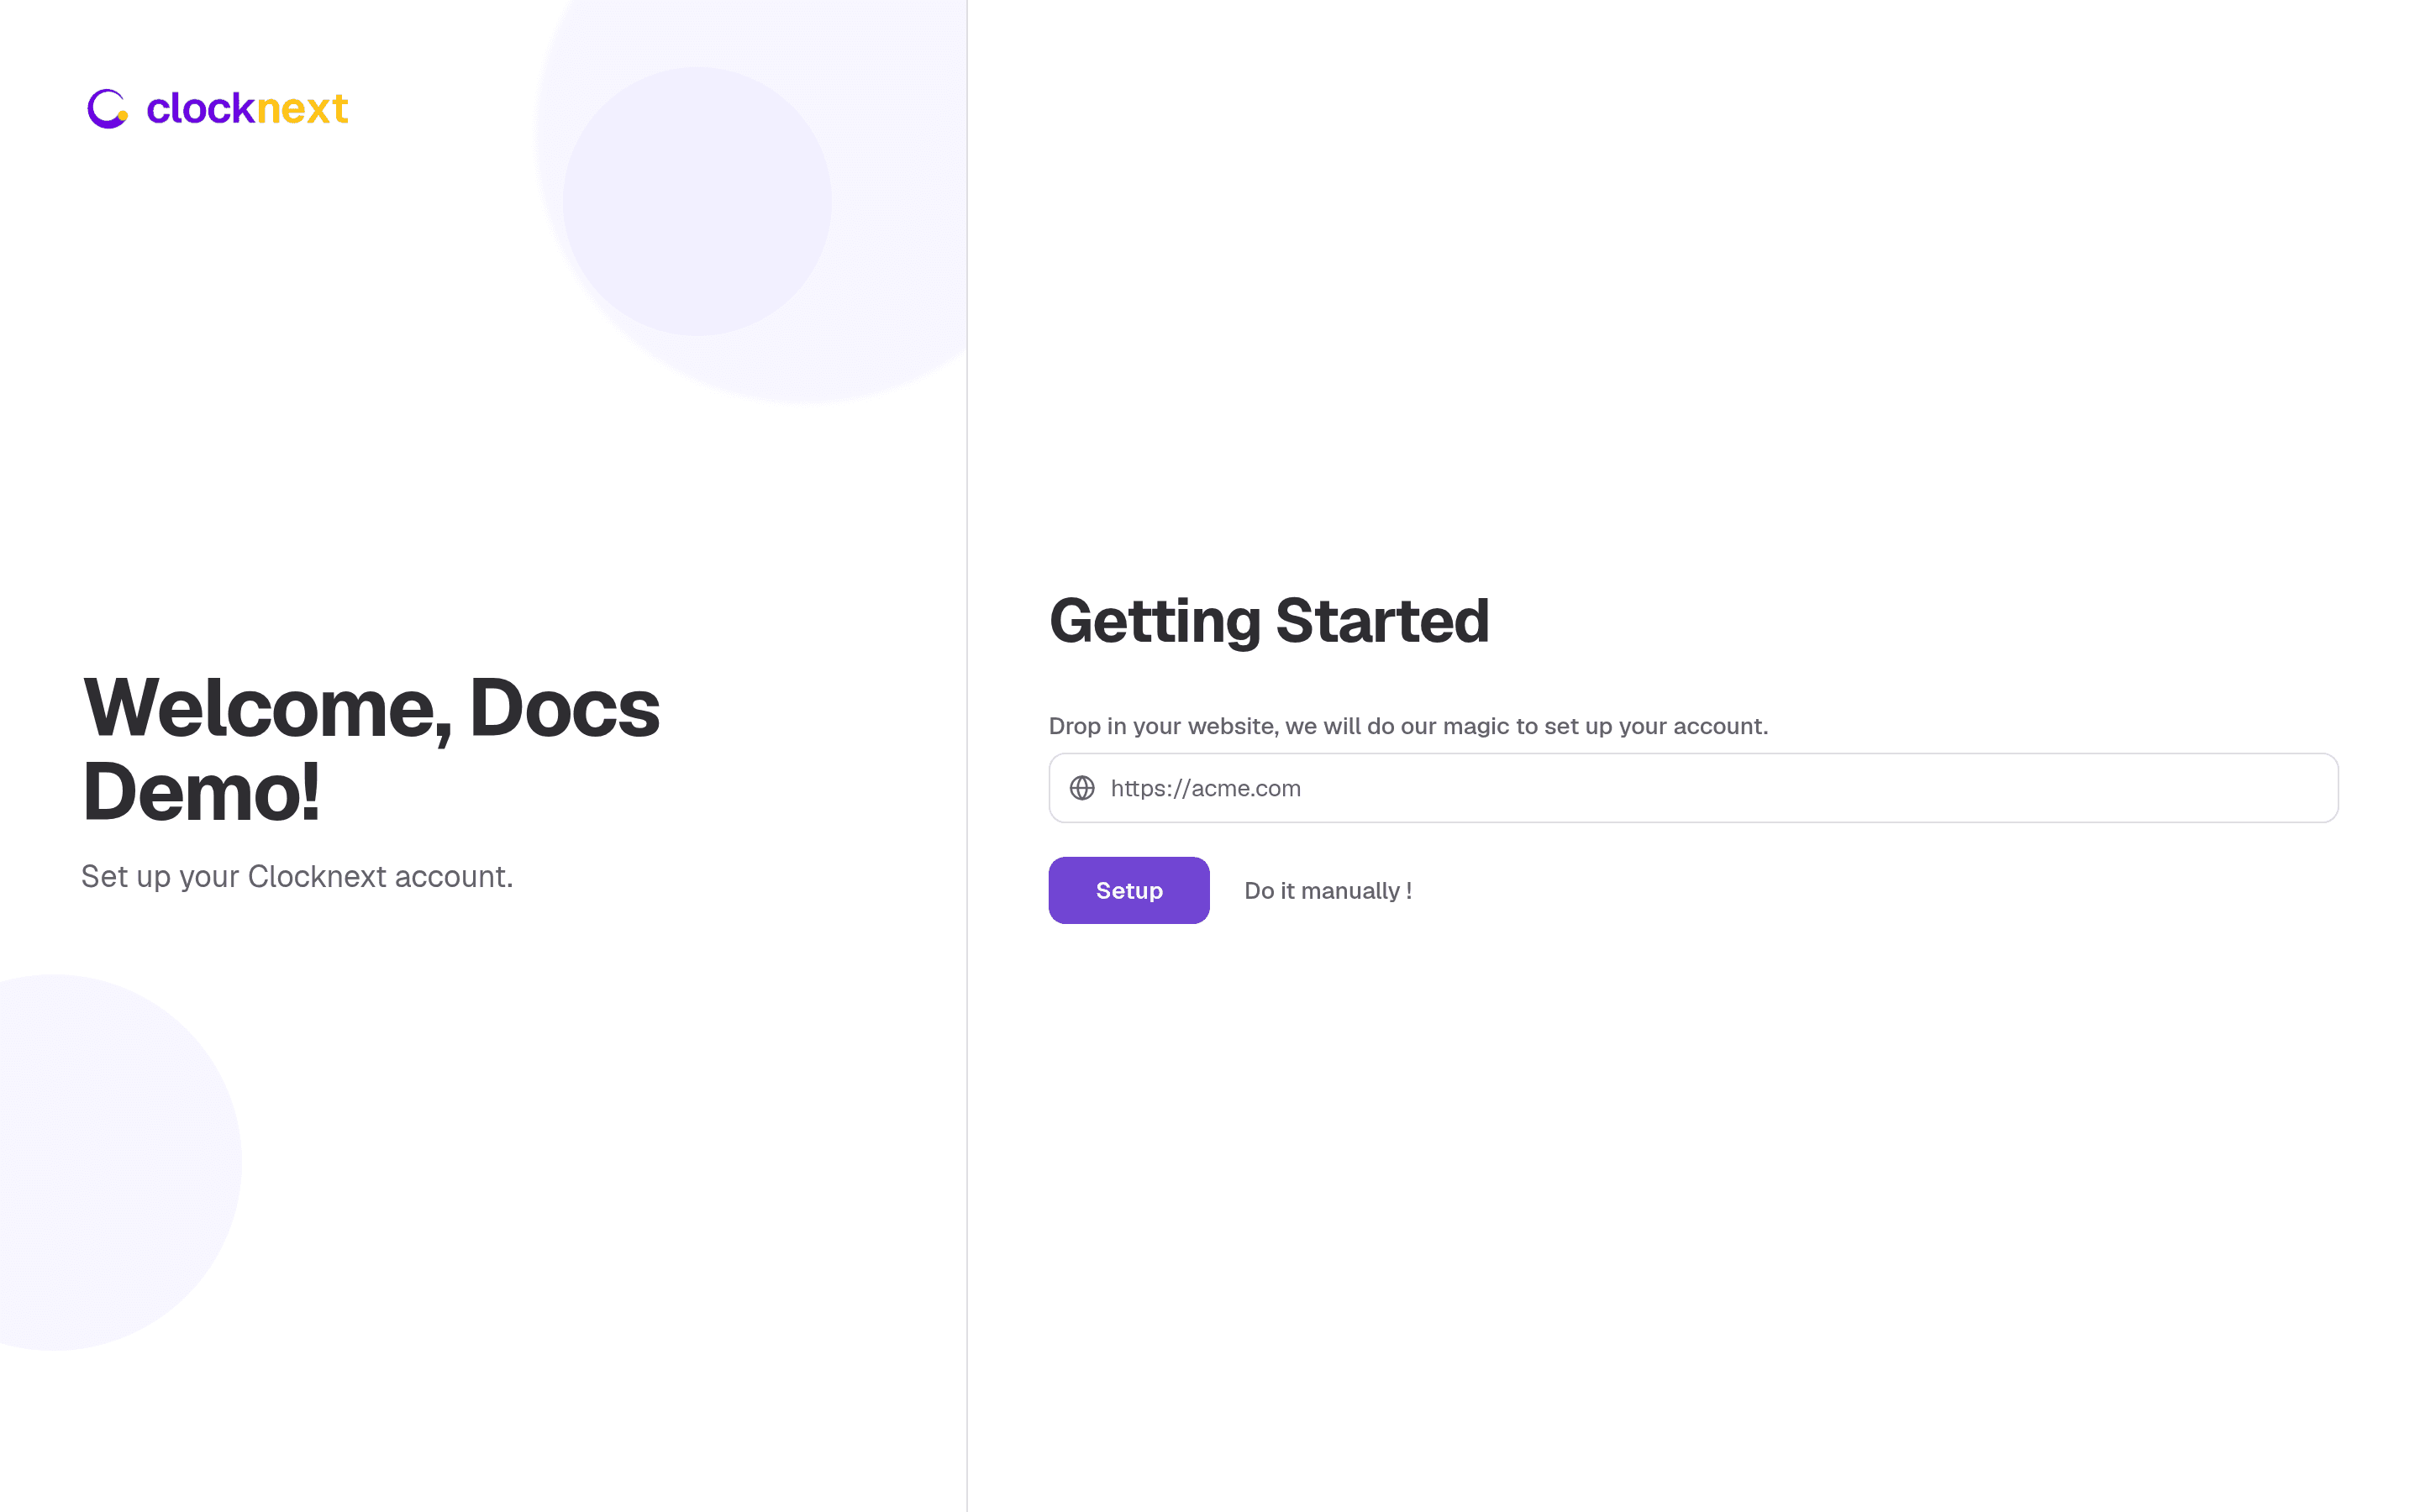
Sign up and Clocknext drops you into a short first-run onboarding: name your Organisation (drop in your website and we enriches the details for you, or enter them by hand), then review three Plans it drafts for your product — keep them, tweak them, or skip. Accepting the drafts loads them into a Sandbox twin of your Organisation seeded with sample Customers and usage, so you can explore against realistic data before touching production; switch back to your live workspace any time from the org switcher.
When onboarding finishes you land in the app on your Revenue dashboard — empty for now, waiting for the Signal you're about to send.
2. Confirm your Models
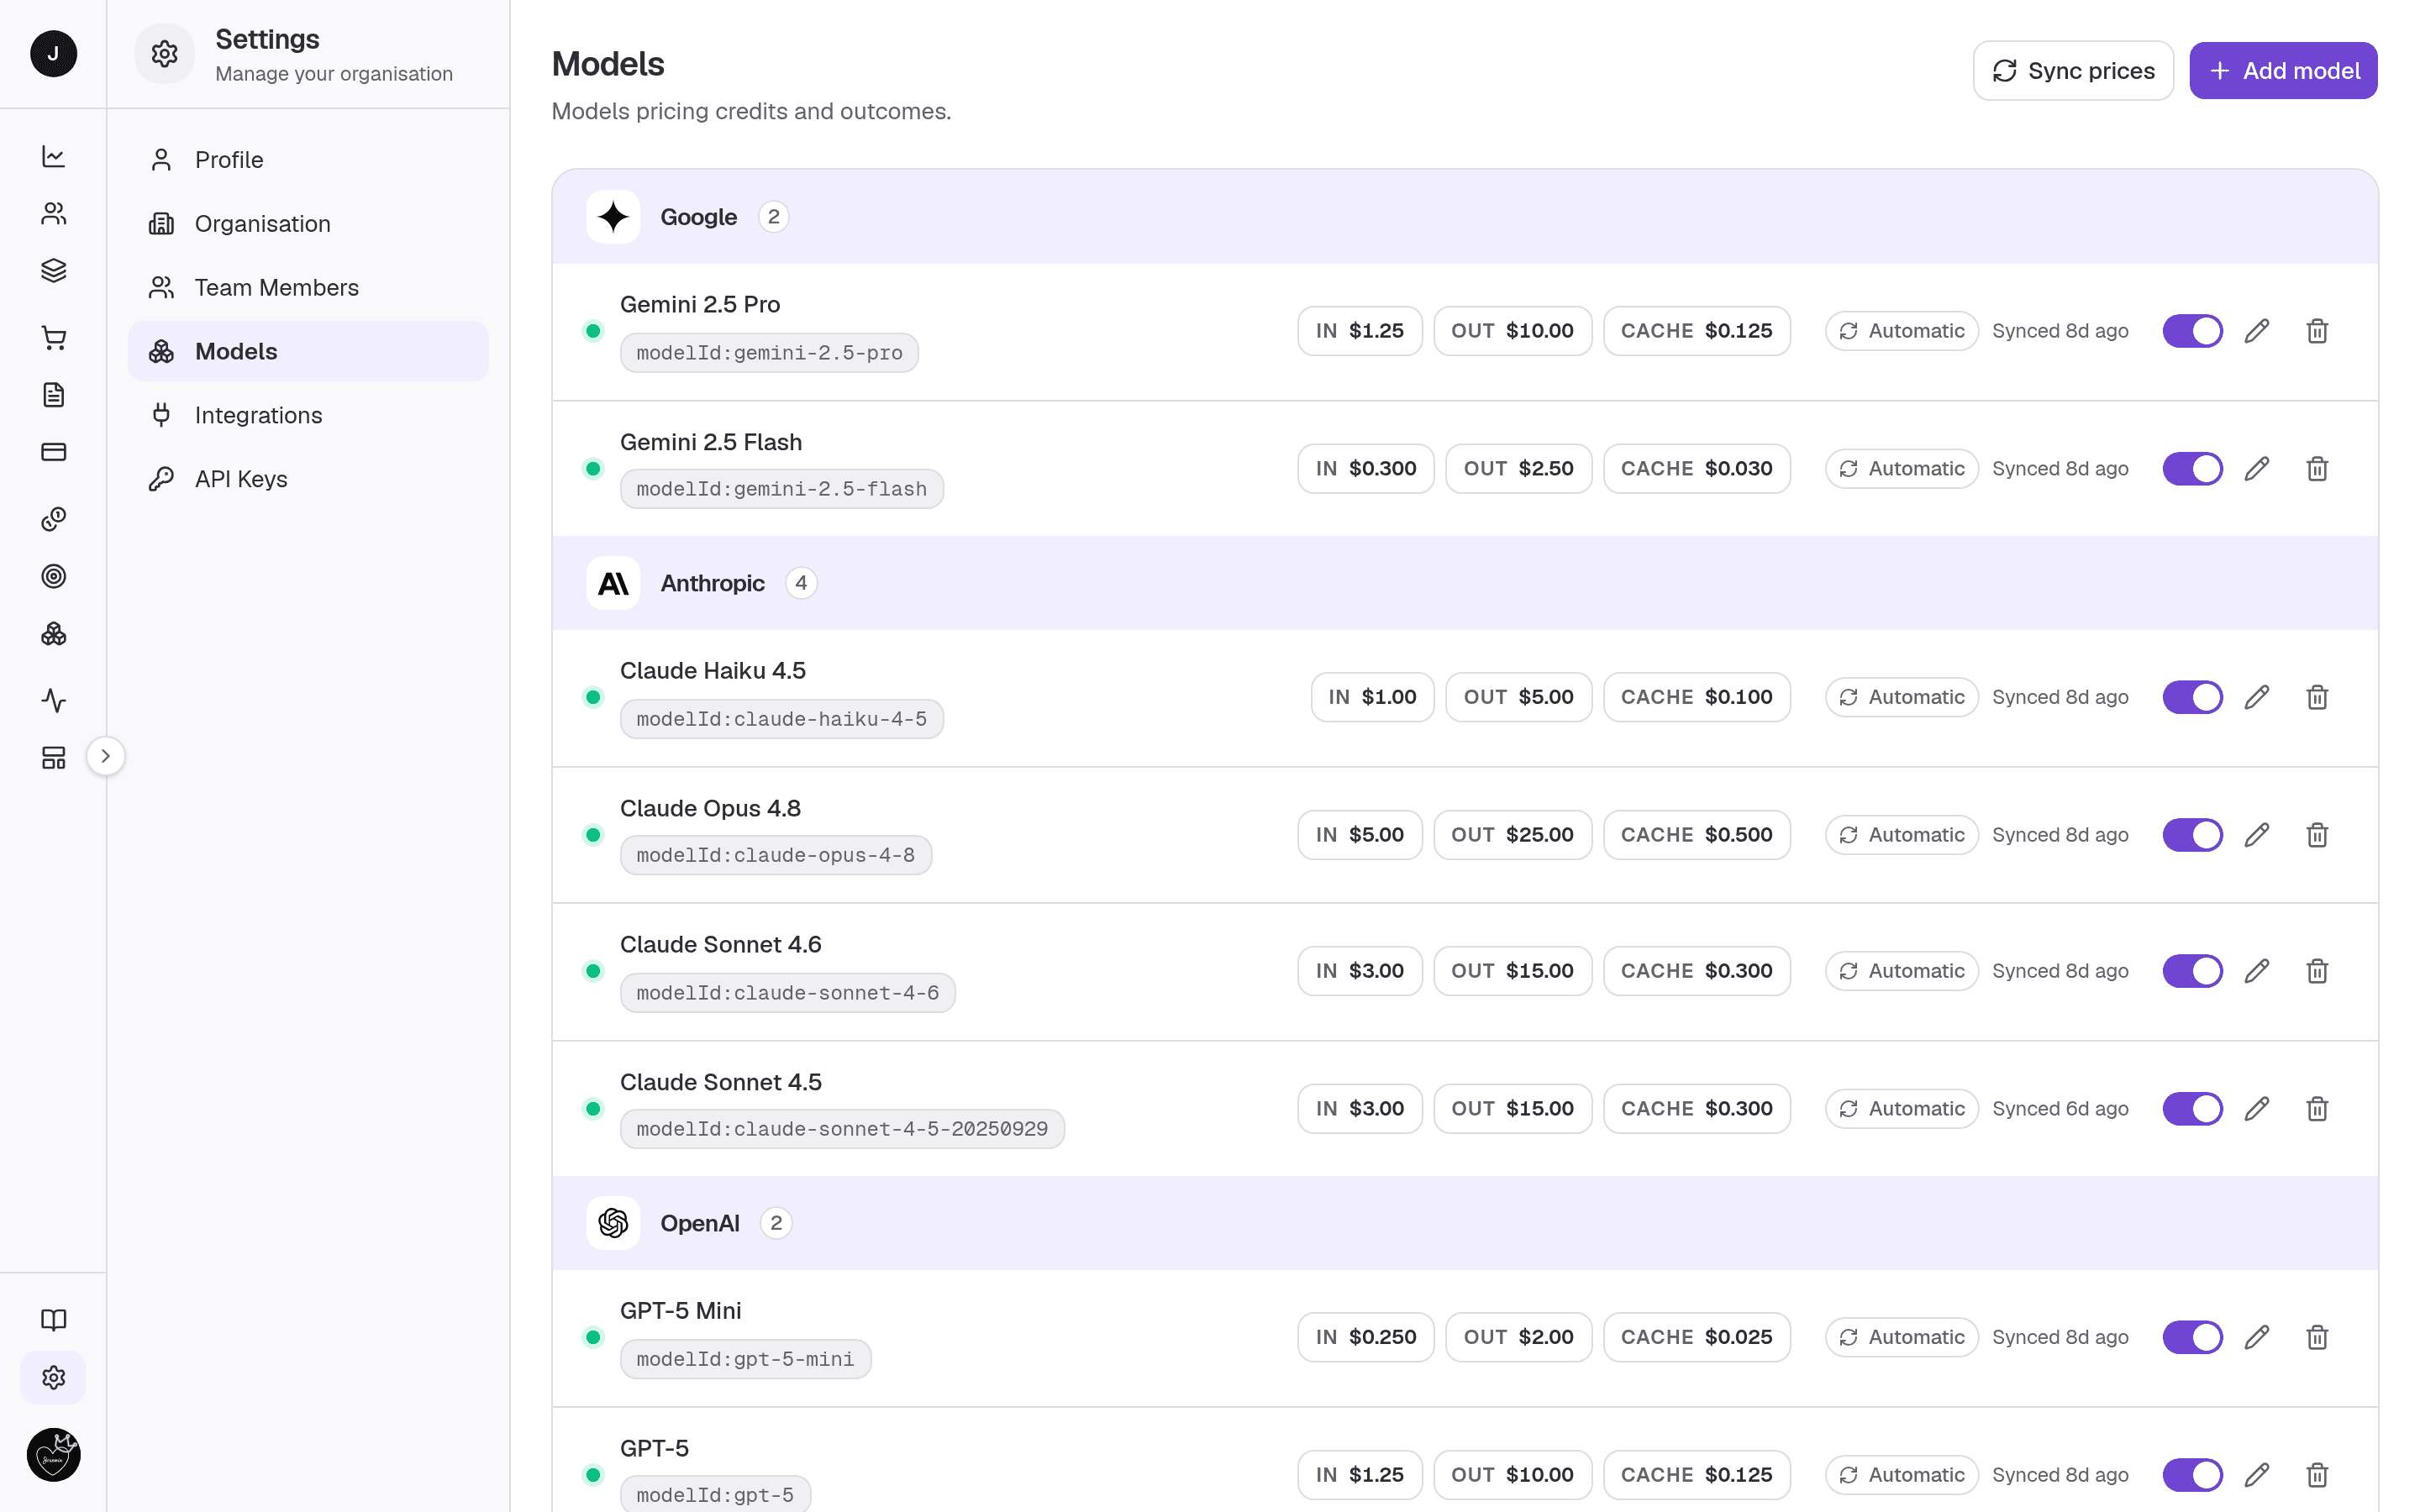
A Signal is priced against a Model — usually an LLM (gpt-4o, claude-…),
identified by a model id. Its per-model cost is what turns a token count into a
real dollar figure, so open Settings →
Models and make sure the Models you serve
are in the catalog with the right cost. Every Signal you send later references one
of these model ids.
3. Add a Customer
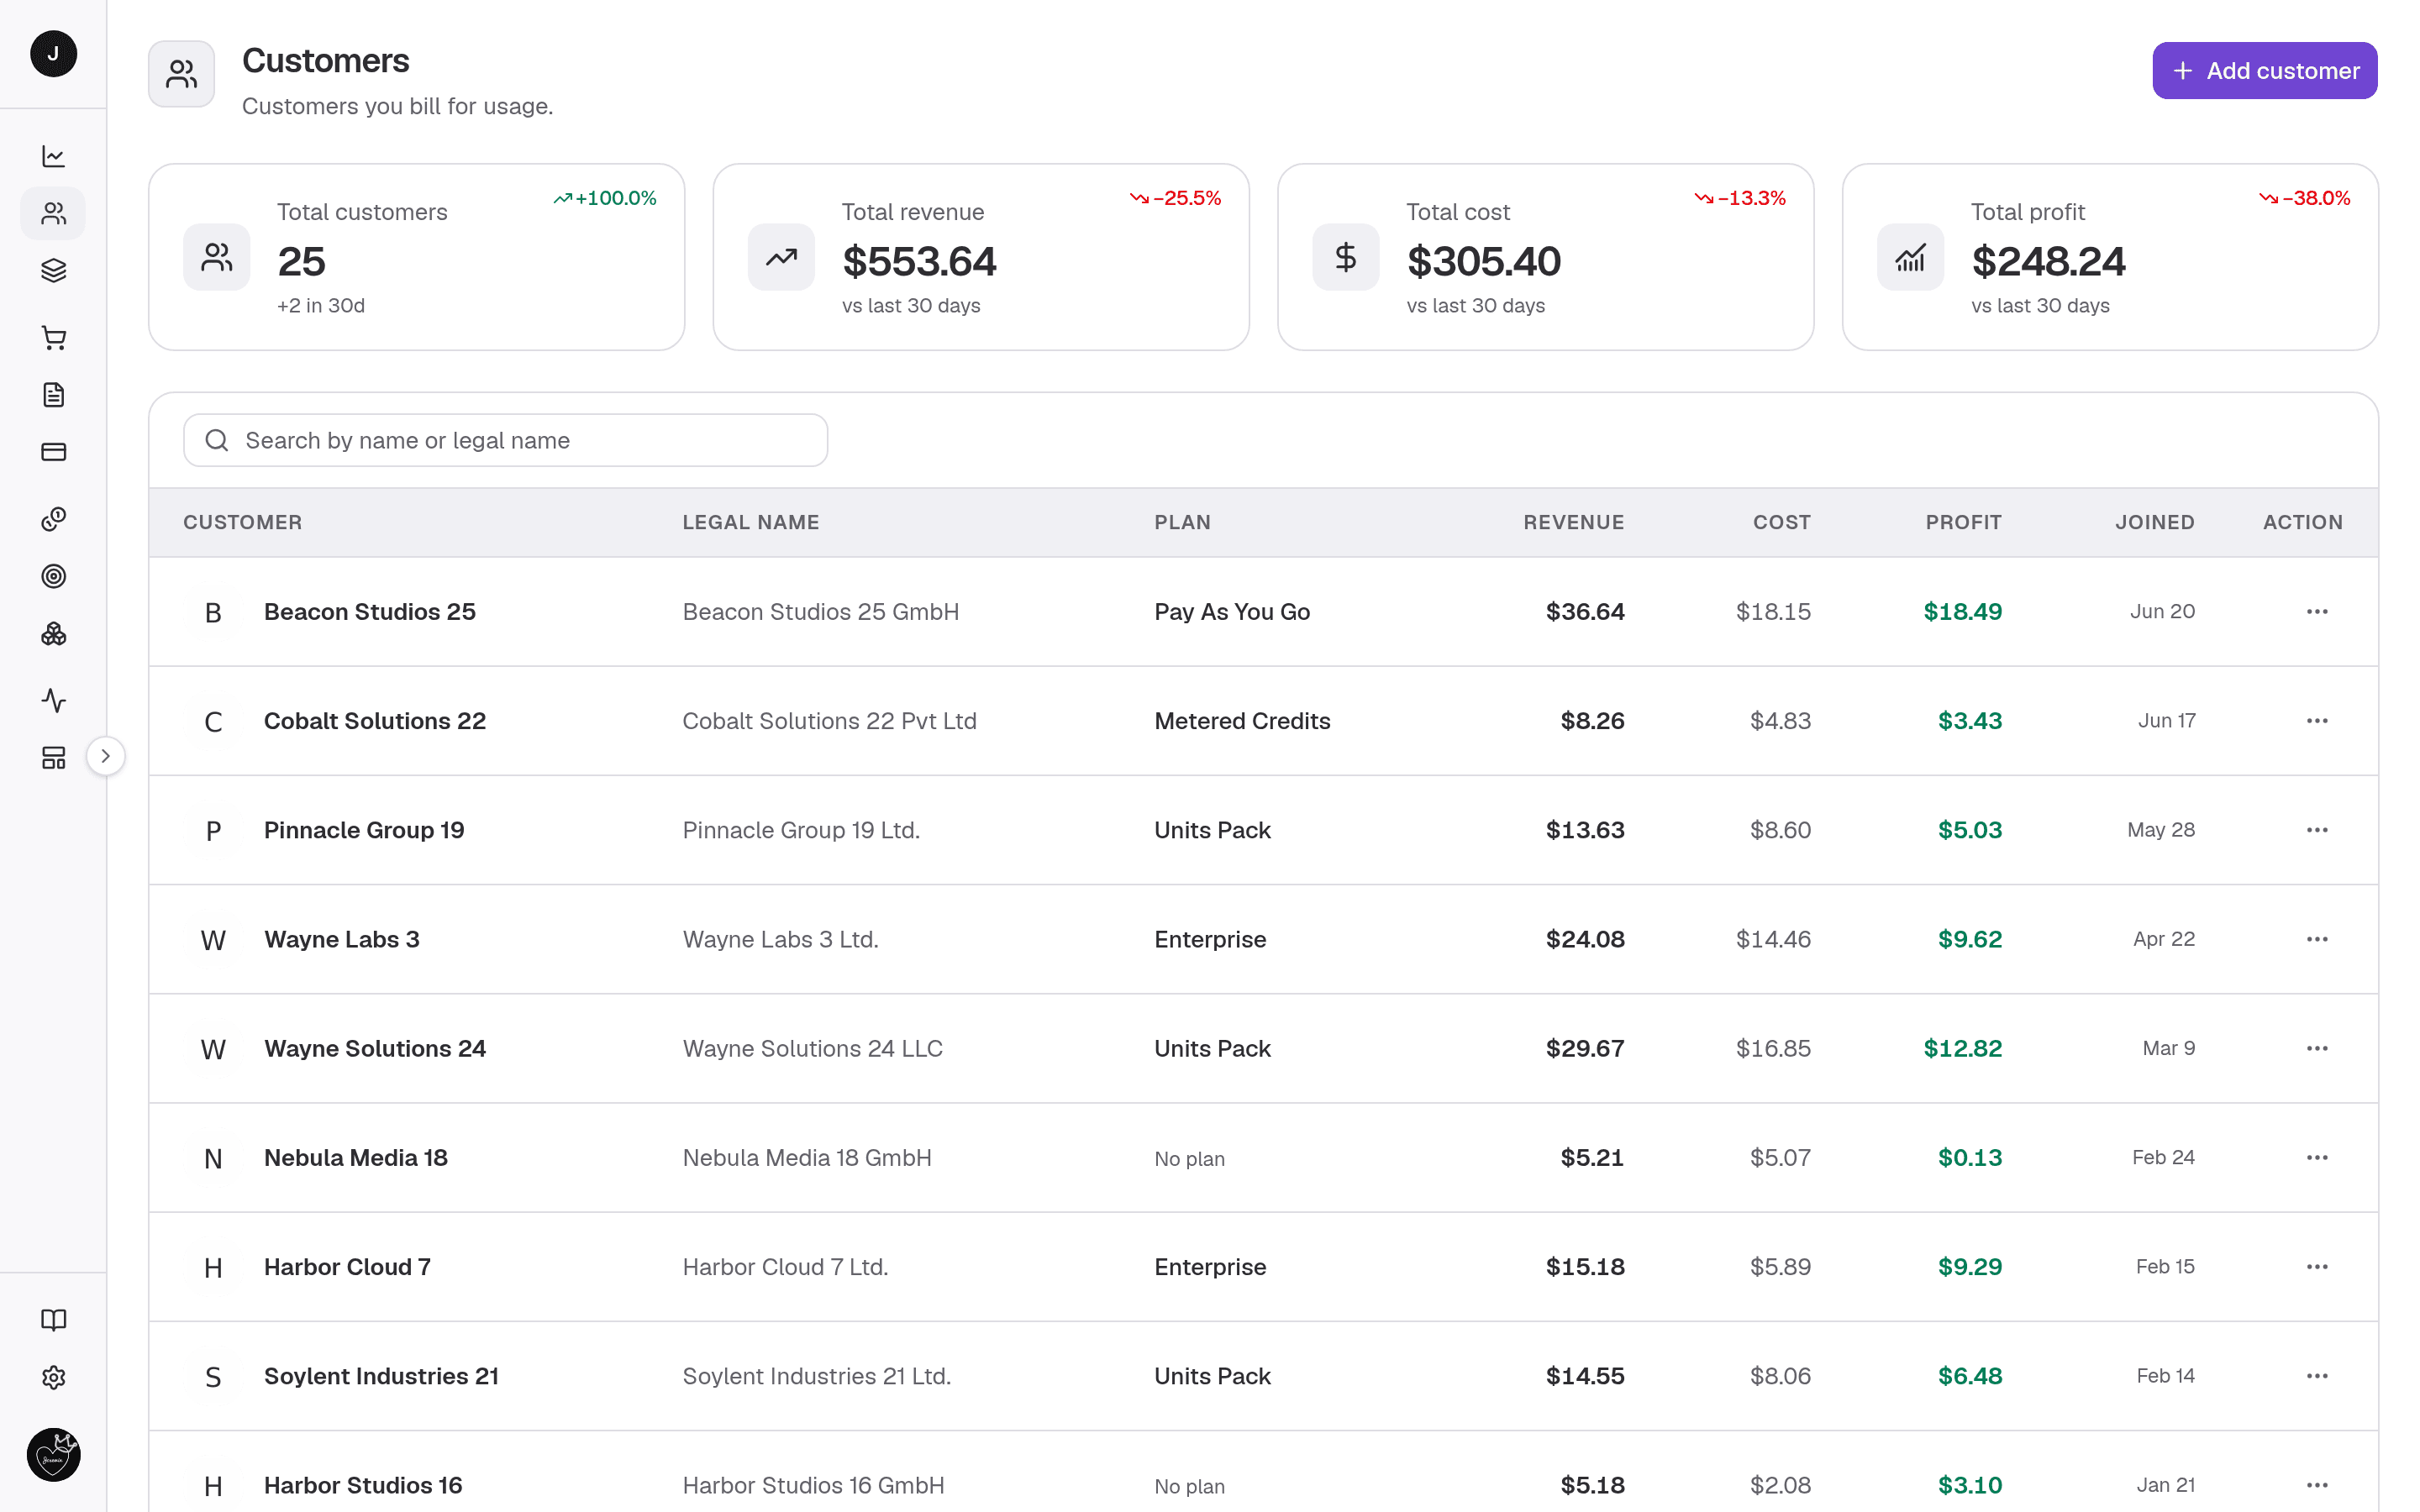
The Customer is who the Signal belongs to. Create the account you'll bill on the
Customers page — identity, billing address, and
display currency. Its customerId is the value you'll reference from your code
when you send usage.
4. Decide what they can consume
Now define what that Customer is allowed to use and how each thing is priced. Pick the entitlement types that match how you charge:
- A Wallet allowance for prepaid dollars drawn straight down,
- Credits for token-tracked features (each has
a stable
agentKey), - Outcomes for work you bill by result, step by step,
- Units for simple counted items with tiers.
Wallet, Credits, and Outcomes are the ones tracked through Signals — note the
agentKey on any Credit or Outcome, because your code sends it with each Signal to
say which entitlement to draw down.
5. Package it as a Plan
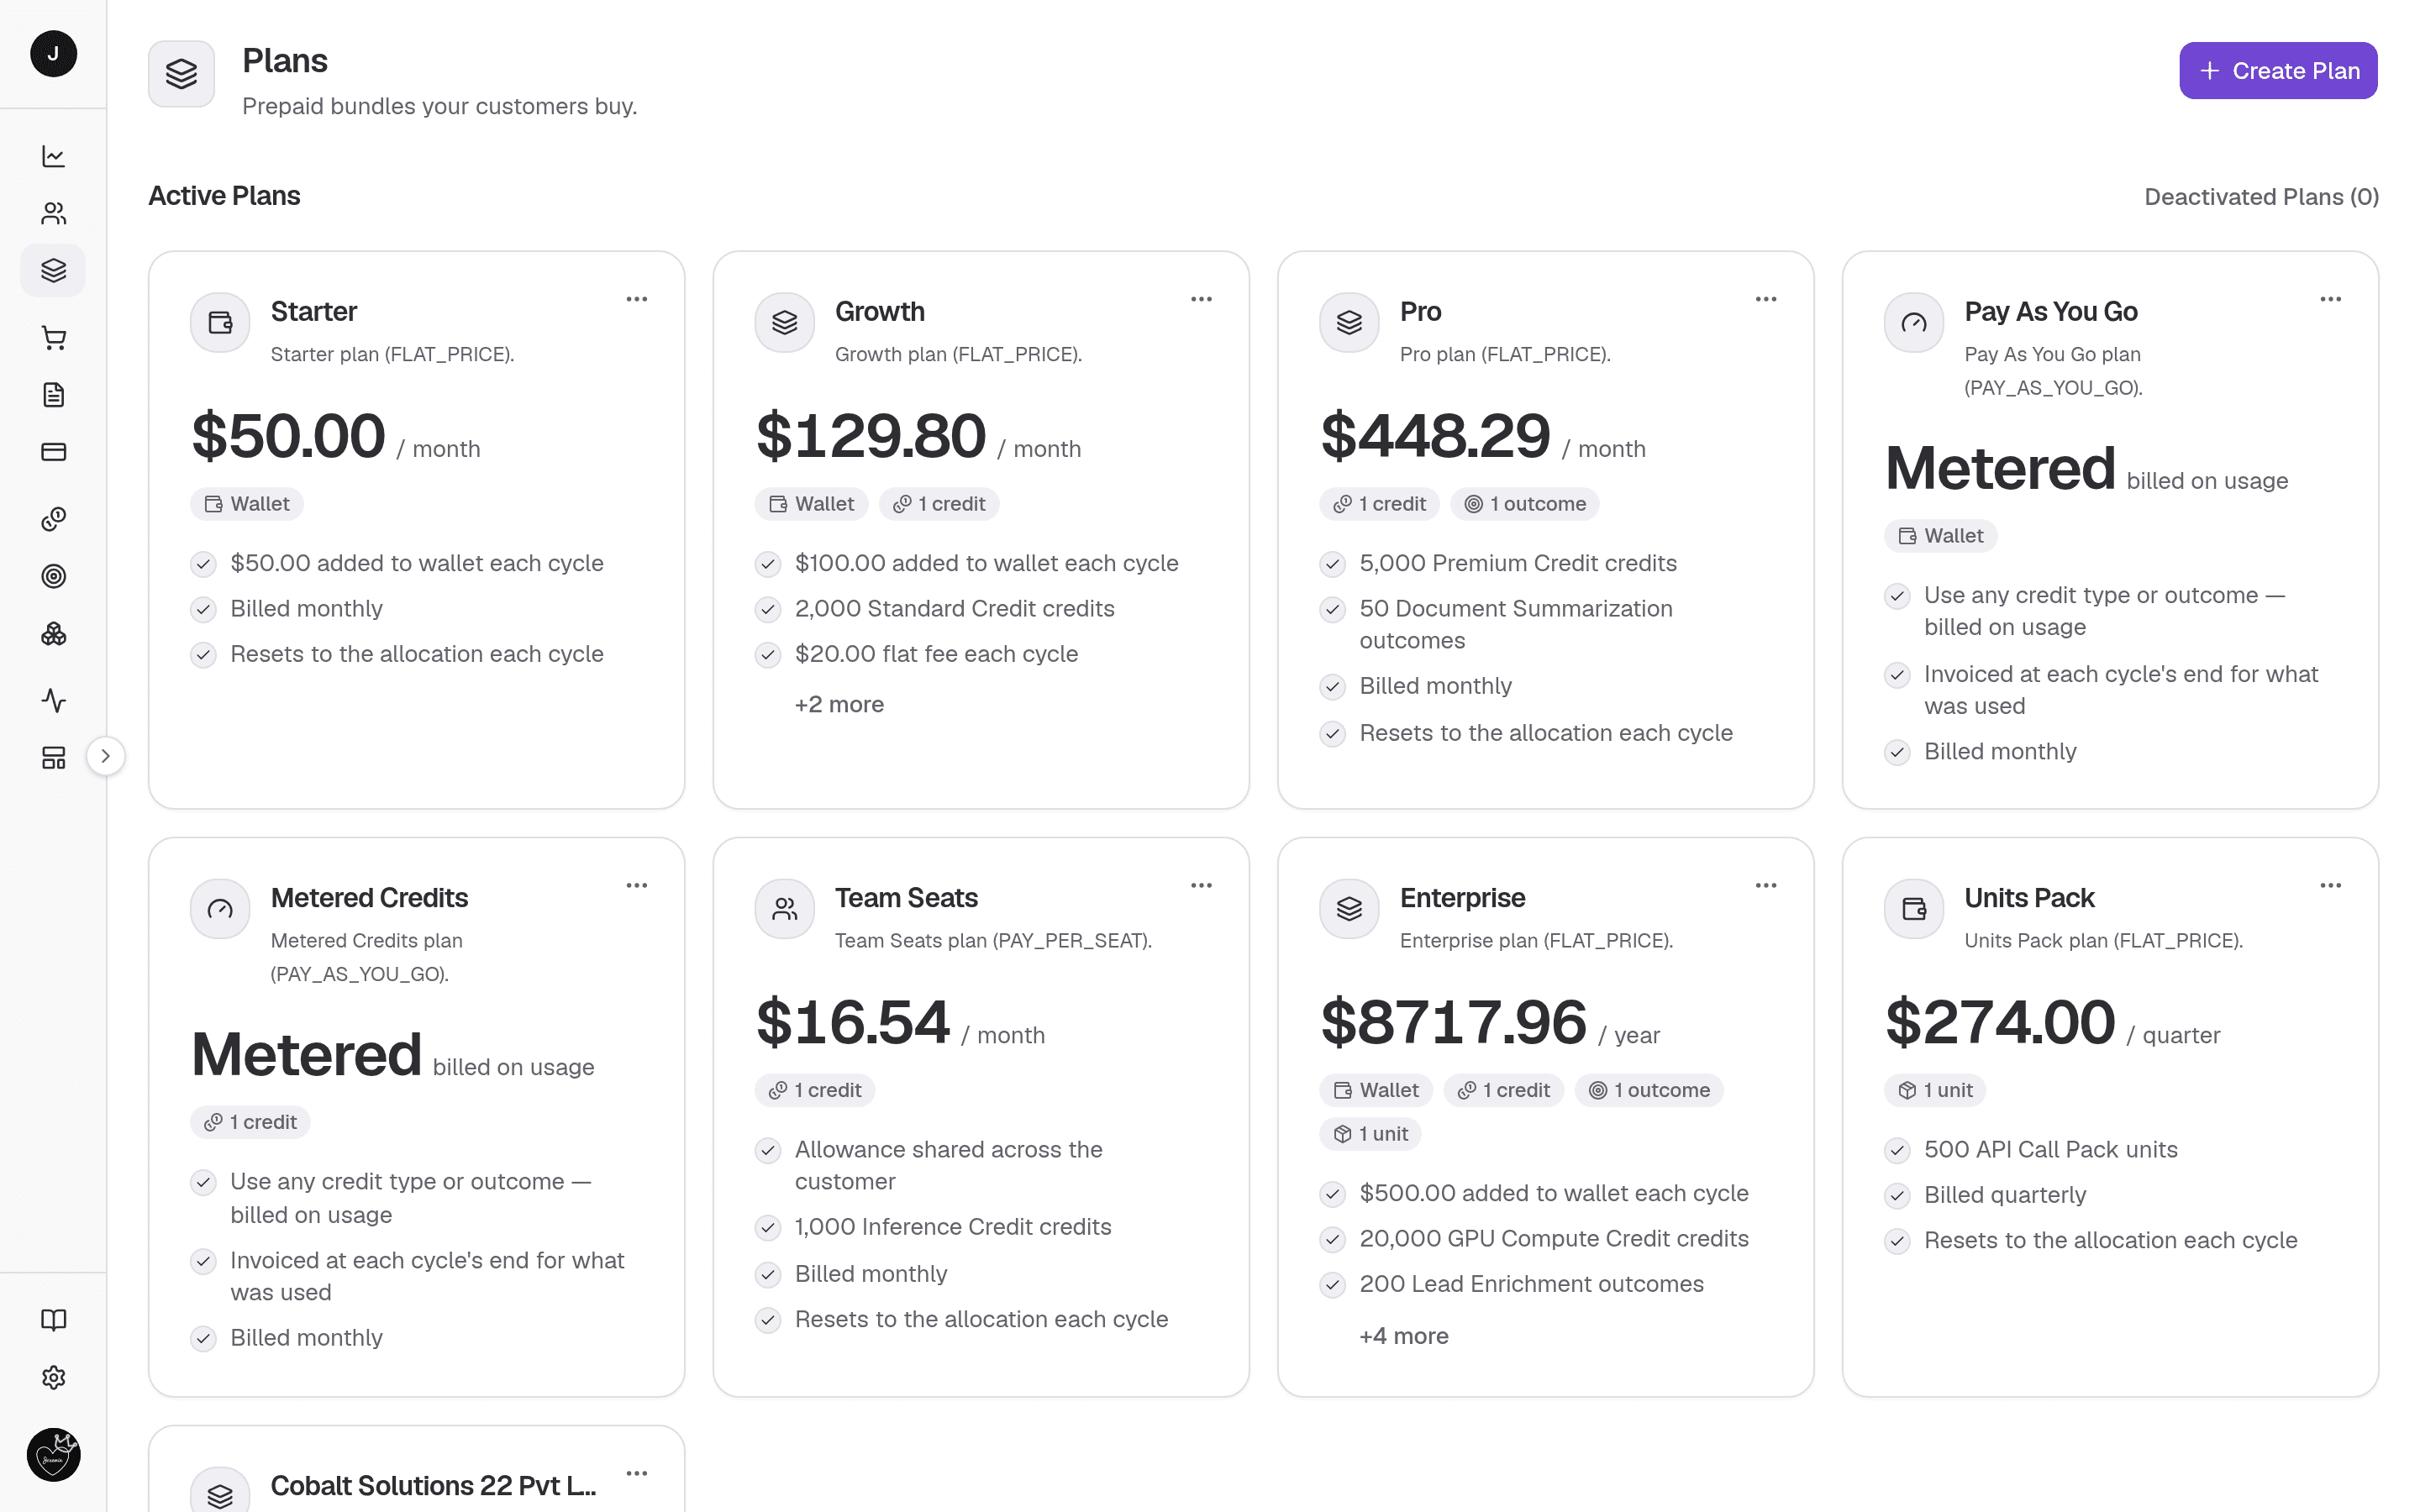
A Plan is what you actually sell: the entitlement components from the previous step, bundled and priced. For each component, decide whether it's billed in advance (charged up front for the cycle) or in arrears (charged after the fact for what was used).
6. Sell the Plan (and take payment)
Put the Customer on the Plan by recording a Purchase. This starts their billing cycle and, for advance components, charges the up-front amount — connect Stripe in Settings → Integrations to collect it, and paid Invoices reconcile into Payments with a receipt. The Customer now has an active Plan — the last prerequisite before a Signal can be tracked.
7. Mint an API key
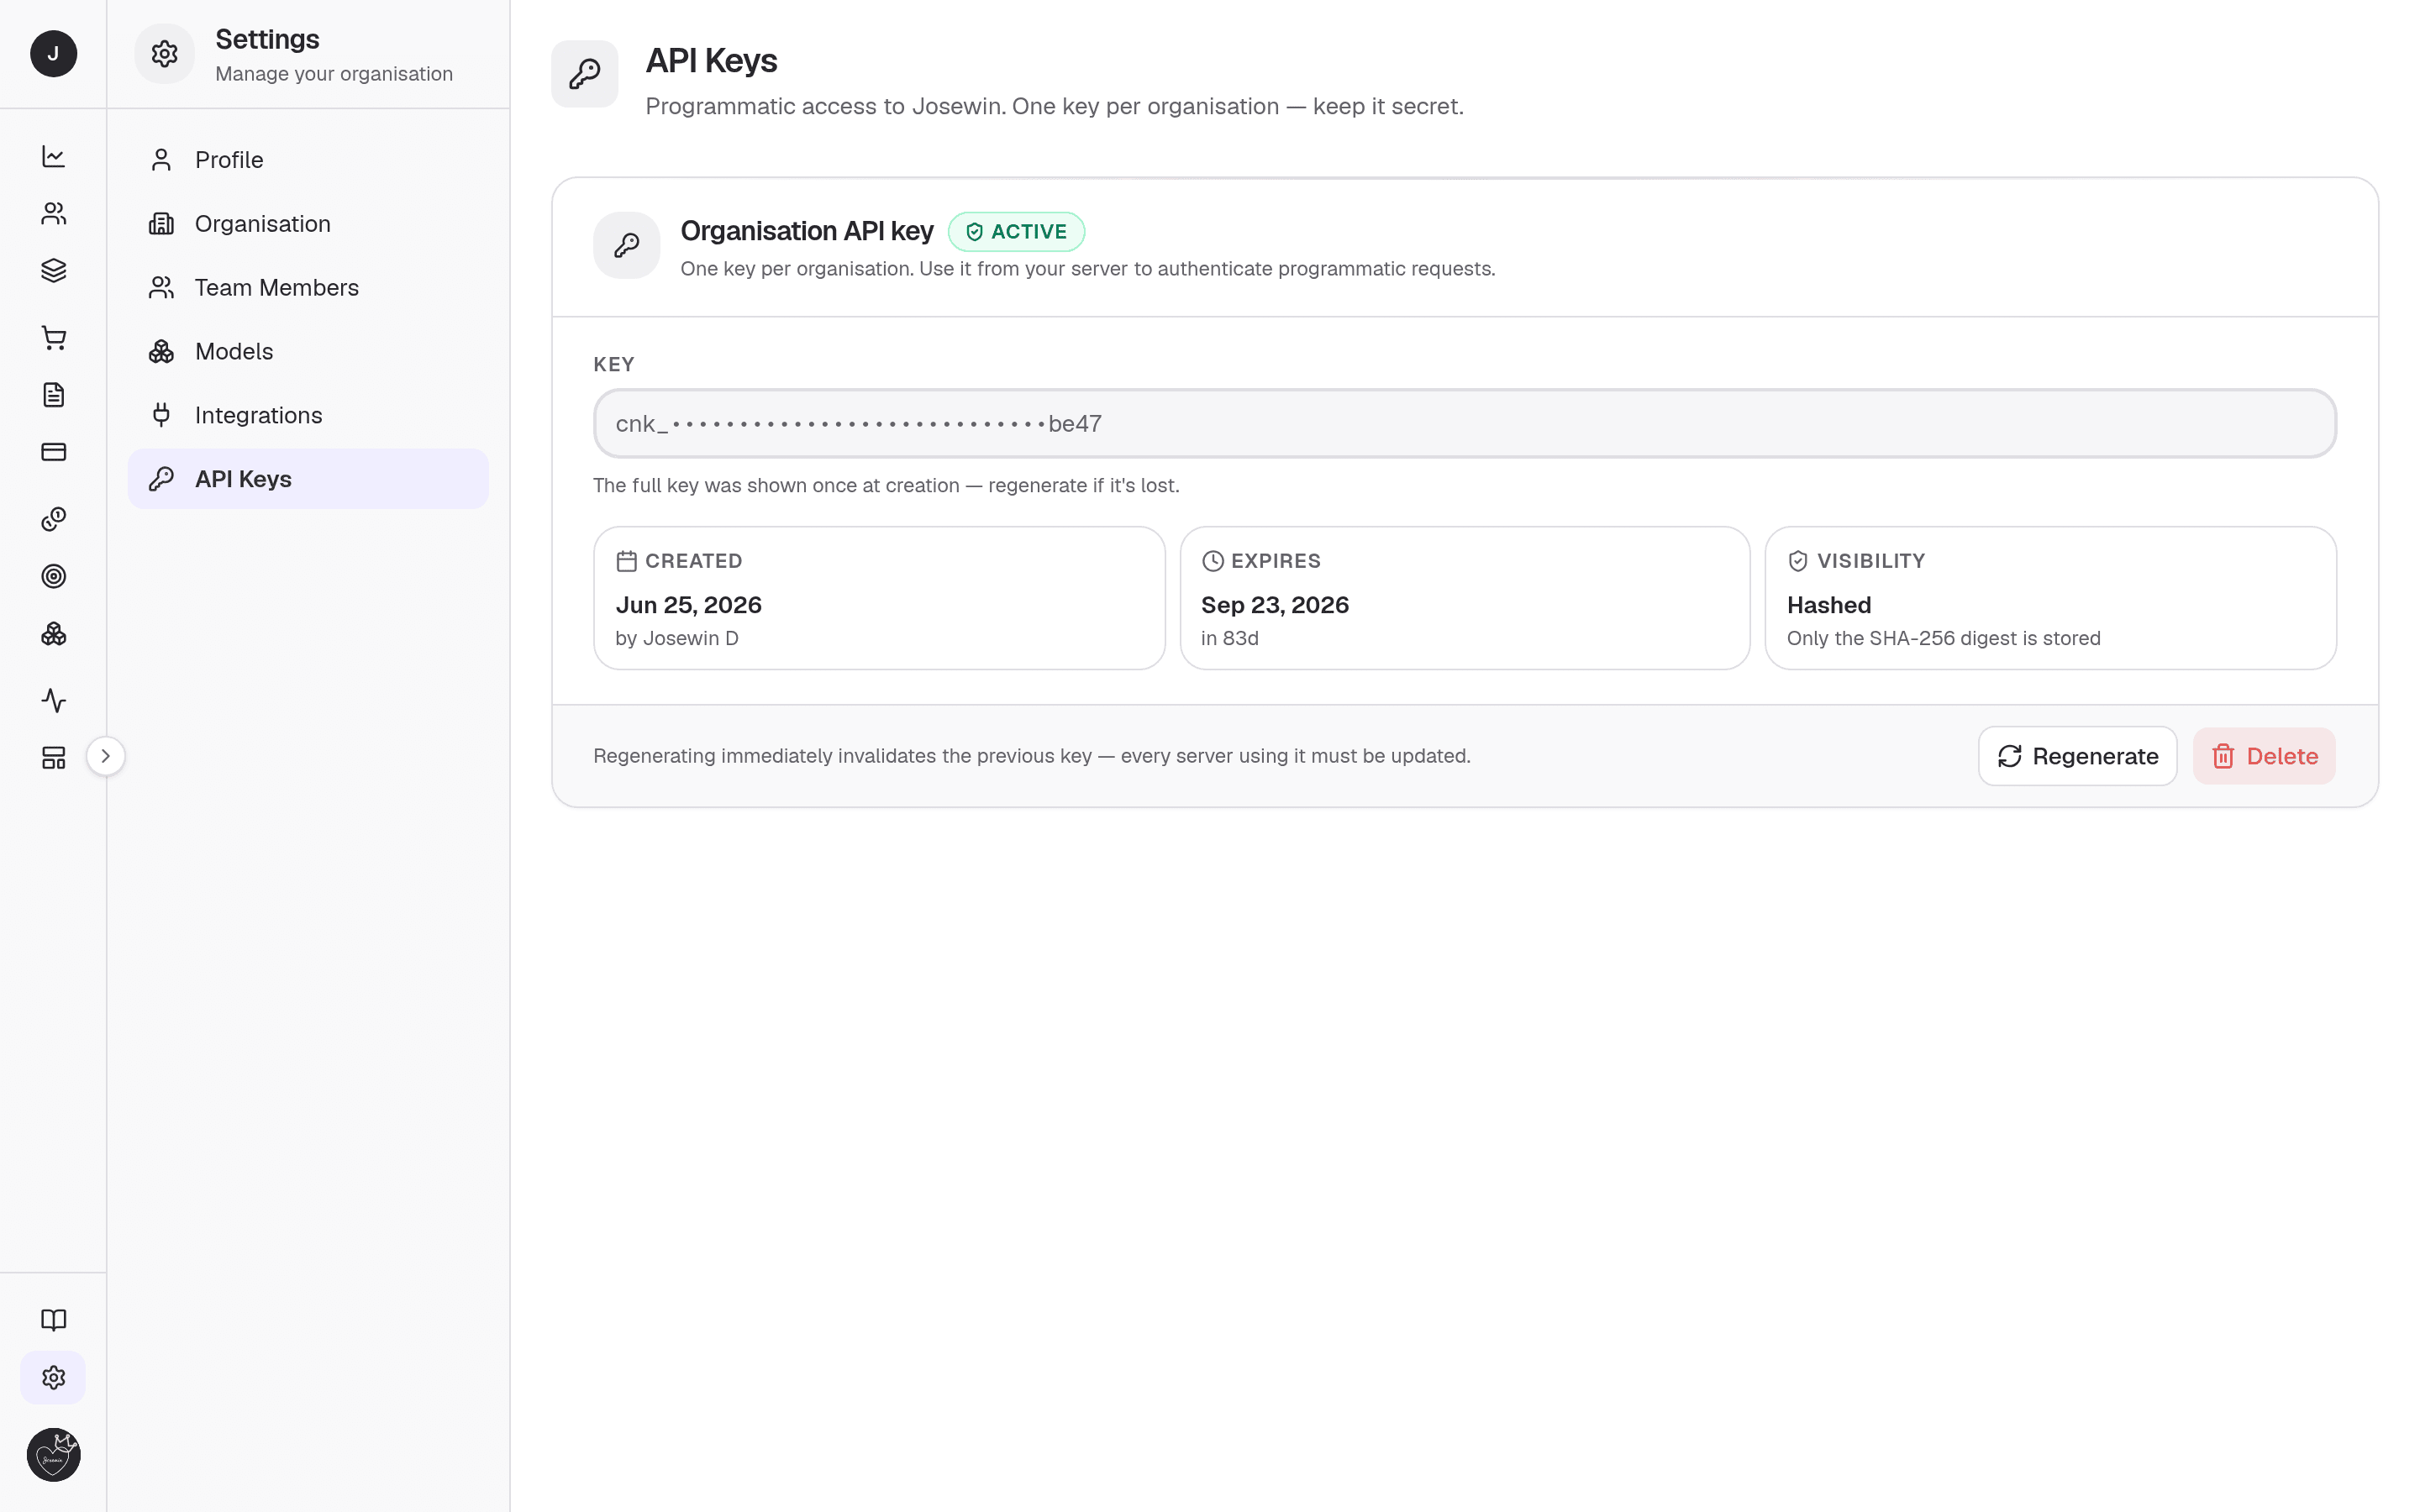
Your product authenticates as your Organisation with a cnk_… key. Create one in
Settings → API keys — it's shown once, so
store it as a secret (for example CLOCKNEXT_API_KEY).
8. Send your first Signal
This is the whole point. Every time that Customer runs something you track, send a Signal. Send one from your backend — Node.js or cURL:
import { ClockNext } from "@clocknext/sdk";

const clocknext = new ClockNext({ apiKey: process.env.CLOCKNEXT_API_KEY! });

// After a model call finishes:
await clocknext.signals.credit({
  customerId: "cus_abc123", // the Customer from step 3
  model: "gpt-4o", // a model id from your catalog (step 2)
  agentKey: "pro_credit", // the entitlement's agentKey (step 4)
  tokens: { input: 1200, output: 480 },
});

// Before a serverless function returns:
await clocknext.flush();
curl -X POST "https://payments.clocknext.com/api/v1/signal/credit" \
-H "Authorization: Bearer $CLOCKNEXT_API_KEY" \
-H "Content-Type: application/json" \
-d '{
"customerId": "cus_abc123",
"agentKey": "pro_credit",
"usage": {
"model": "gpt-4o",
"inputTokens": 1200,
"outputTokens": 480
}
}'Prefer raw HTTP? Post the same fields to /api/v1/signal/credit.
Either way, Clocknext prices the request by model and tokens, draws down the
entitlement, and records your cost and the Customer's revenue.
The SDK is async by default — signals.* buffers the signal and sends it in
the background, which is why the snippet calls await clocknext.flush() before
returning. See Sending data reliably
for sync mode, retries, idempotency, and the durability caveat.
9. Watch it land
The moment your Signal is accepted it streams into the Signals feed with its cost, revenue, and status, and rolls up into the Revenue dashboard — the app home, at Sidebar → Revenue. That dashboard is where the tracked numbers live from here on: headline KPIs with period-over-period deltas, gross margin and profit, and cuts for Cost, MRR / ARR, and New Revenue, all filtered by a date range. Open a Customer to see the same figures for that one account, plus its balances.
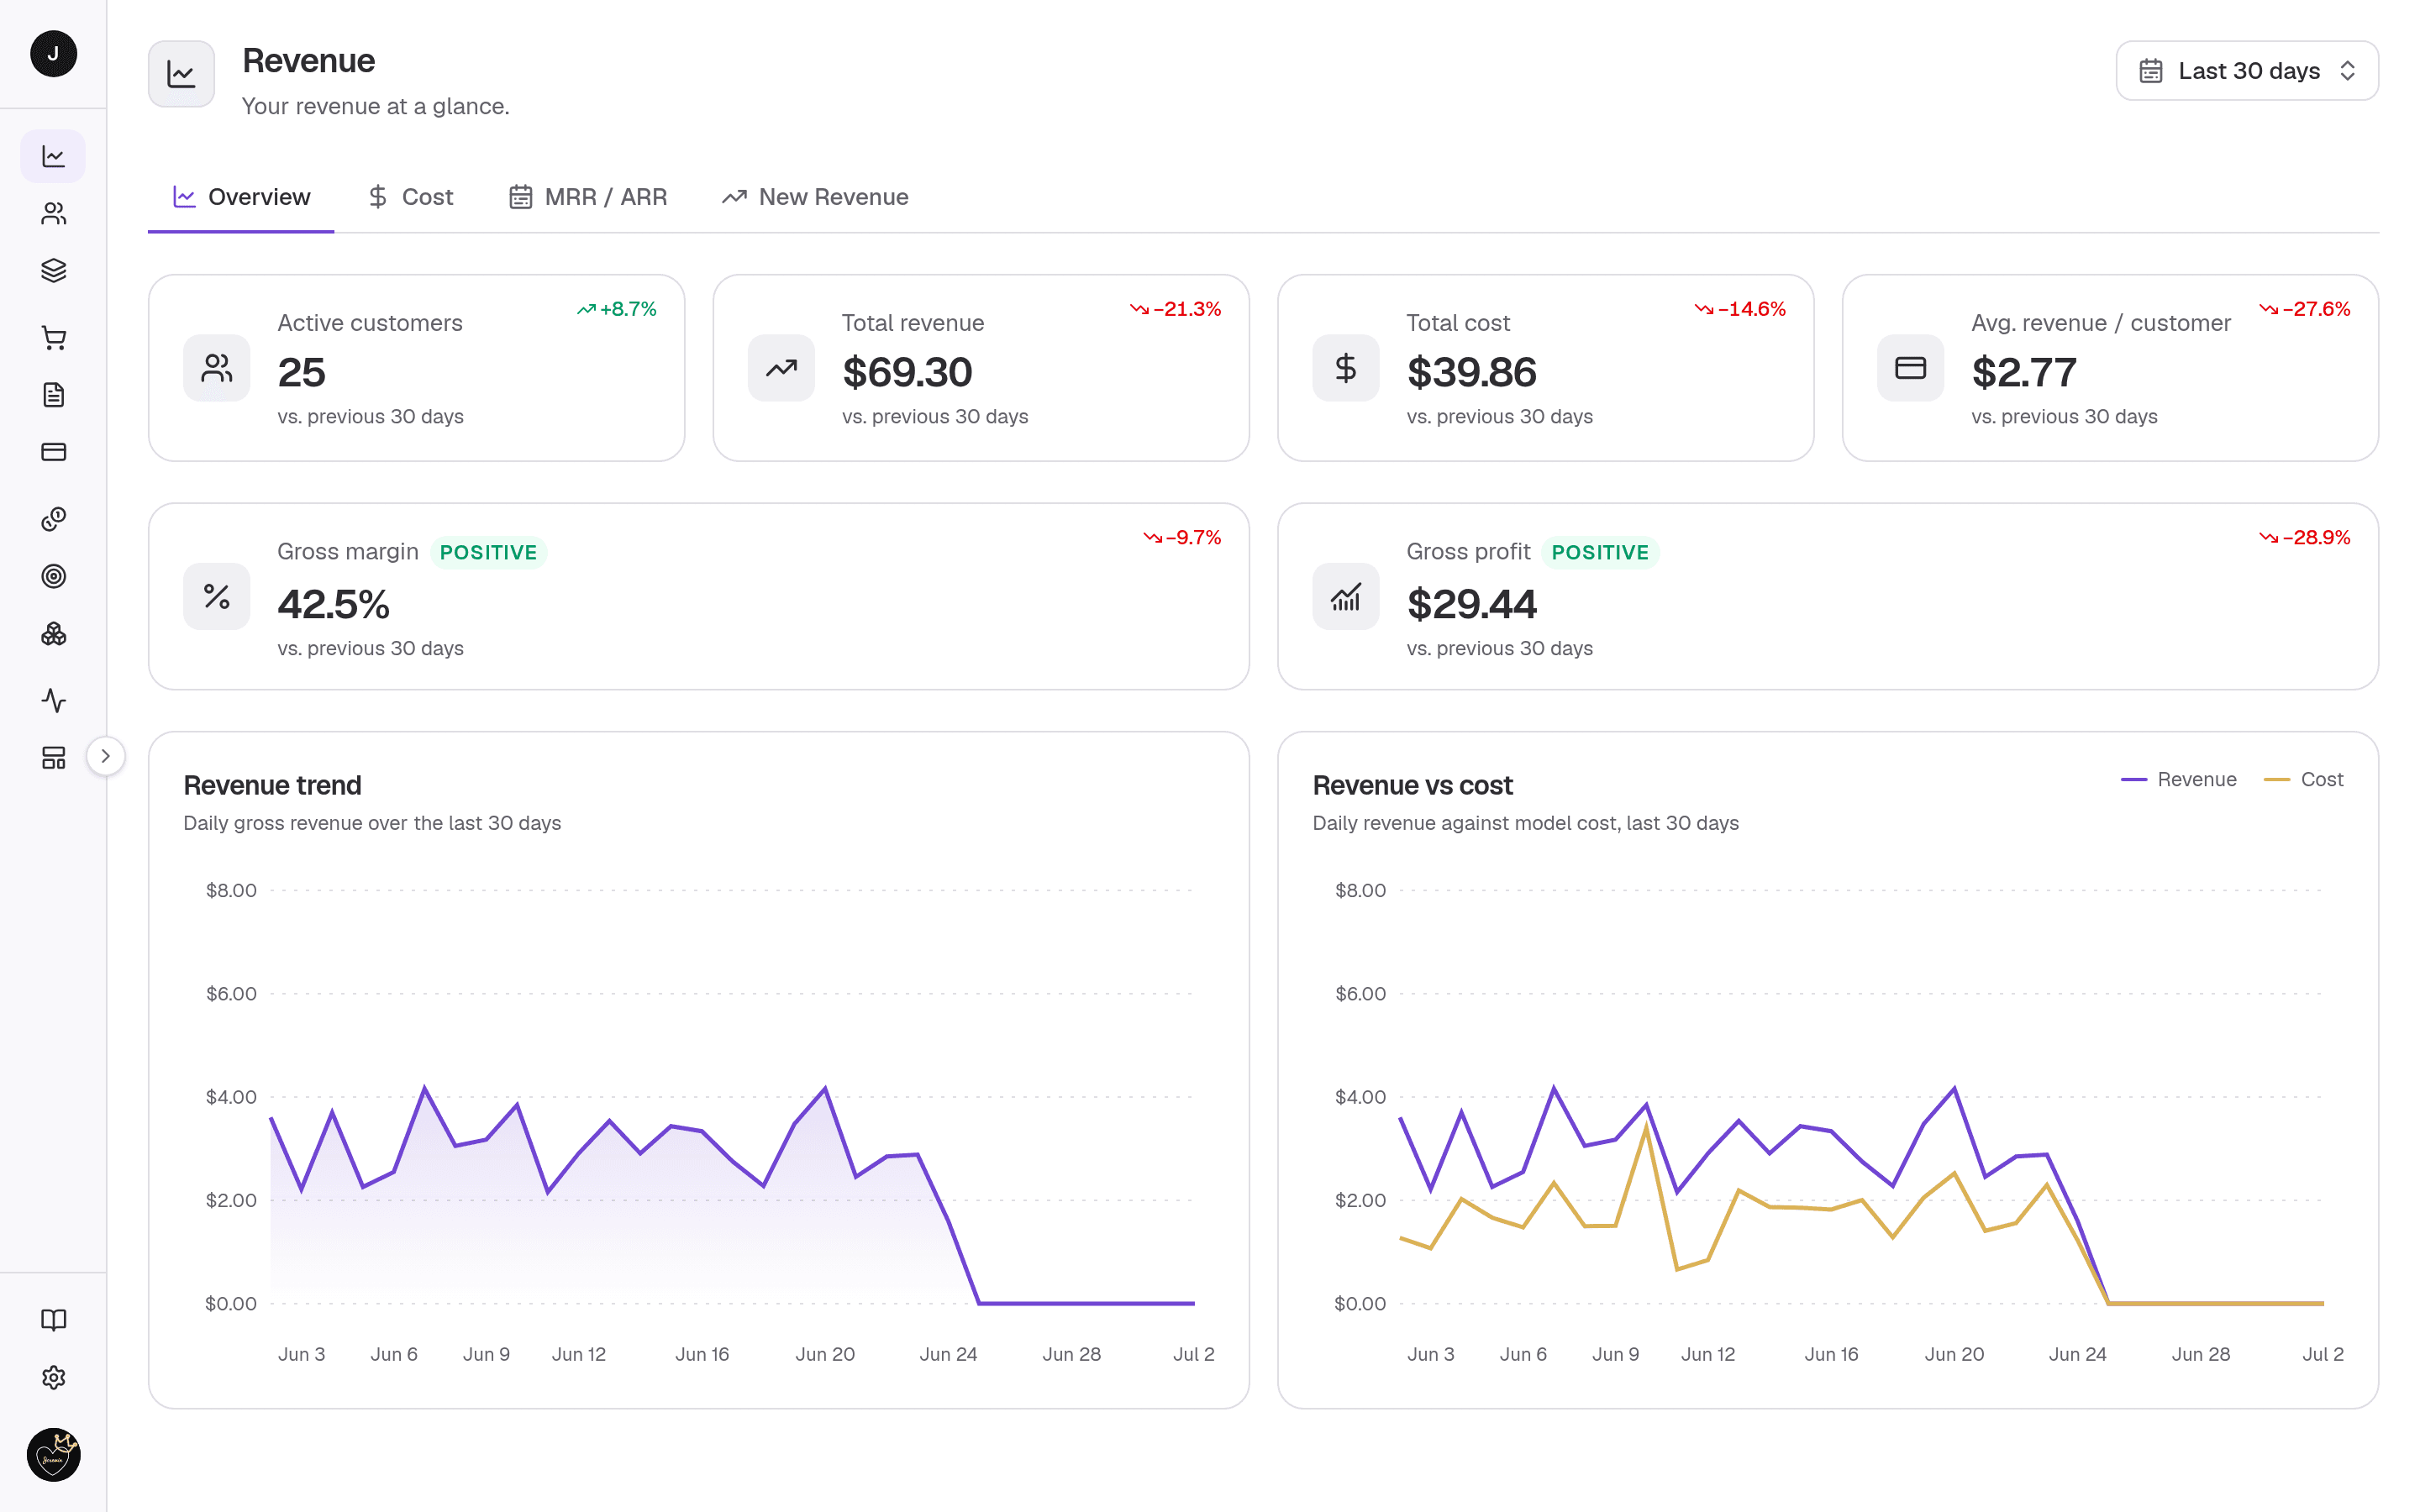
That's the loop. Every Signal you send from now on prices itself, draws down the right entitlement, and shows up here.
Where to go next
- Signals — the feed you just wrote to, in depth.
- Give Customers visibility — embed a read-only portal so Customers see their own usage and balances.
- API reference — every REST endpoint, with a live "Try it" panel.